
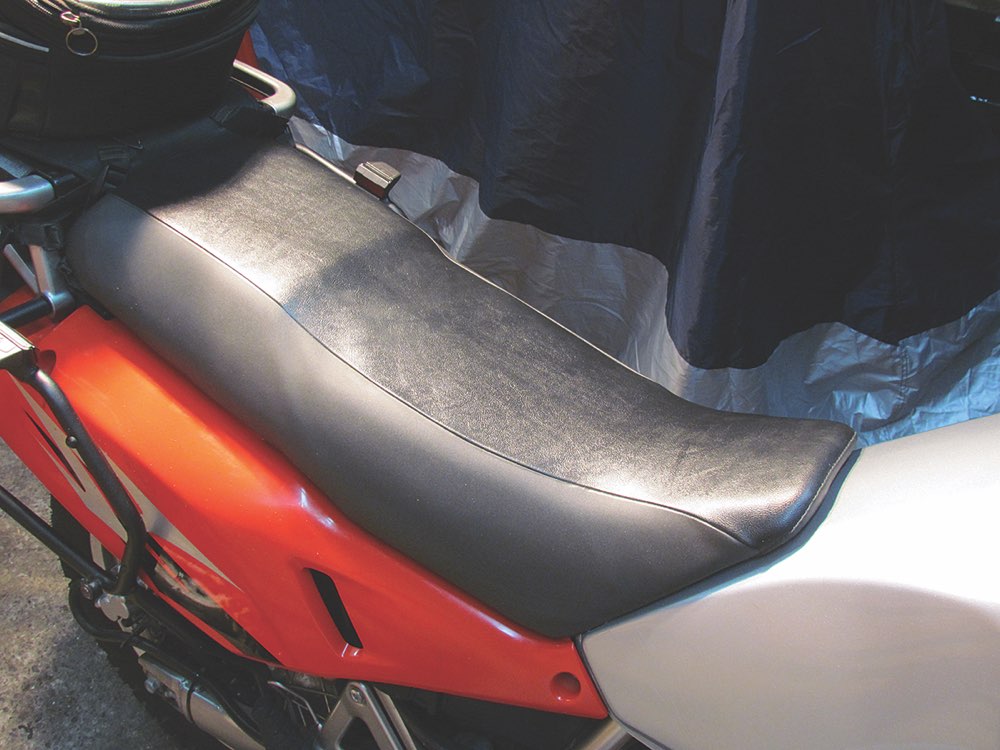
Not all seats are created equal, but with a bit of work, they can be more comfortable.
If you’re lucky, you and your bike’s seat get along fine – like a good friend, it’s supportive, non-intrusive and doesn’t break your butt. However, sometimes it might not be the ideal riding partner. It might be too wide to allow an easy reach to the ground, too tall or, like the one on my KLR650, be angled in an uncomfortable way. Ideally, you can find a suitable alternative through the aftermarket, but that’s a costly option, and there’s no guarantee it will be better than the seat you’re replacing it with.
 The other option is to modify your original seat. You can lower it, make it narrower or, as I did with mine here, reshape it for more comfort. This requires taking the seat apart, cutting the foam padding and putting it back together. The main tools needed are a powerful staple gun (electric or pneumatic), a hacksaw blade and some sandpaper. However, you should make sure the foam on your seat is thick enough before you cut into it; there’s not much you can do with a thinly padded seat.
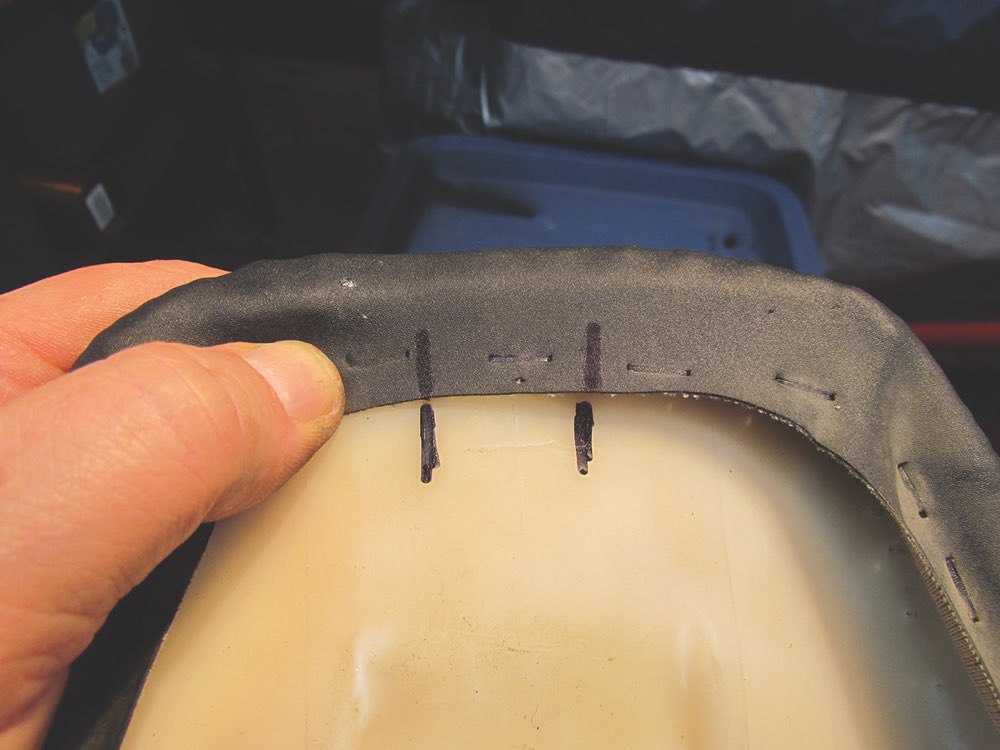
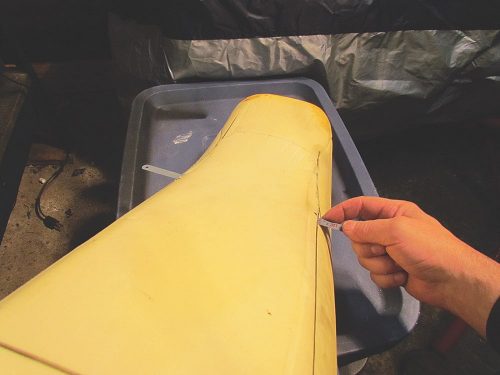
Most seats have a vinyl covering that is stapled onto a plastic base. To remove the vinyl, just pull out all the staples using a pick or tiny flat screwdriver – without poking yourself. But before removing the staples, use a marker to make some locating marks on the cover and on the seat base to make reinstalling it easier. Upon removing the cover from my KLR seat, I discovered that the plastic covering under the vinyl that’s meant to keep the foam dry was damaged, so this was also an ideal opportunity to replace it.
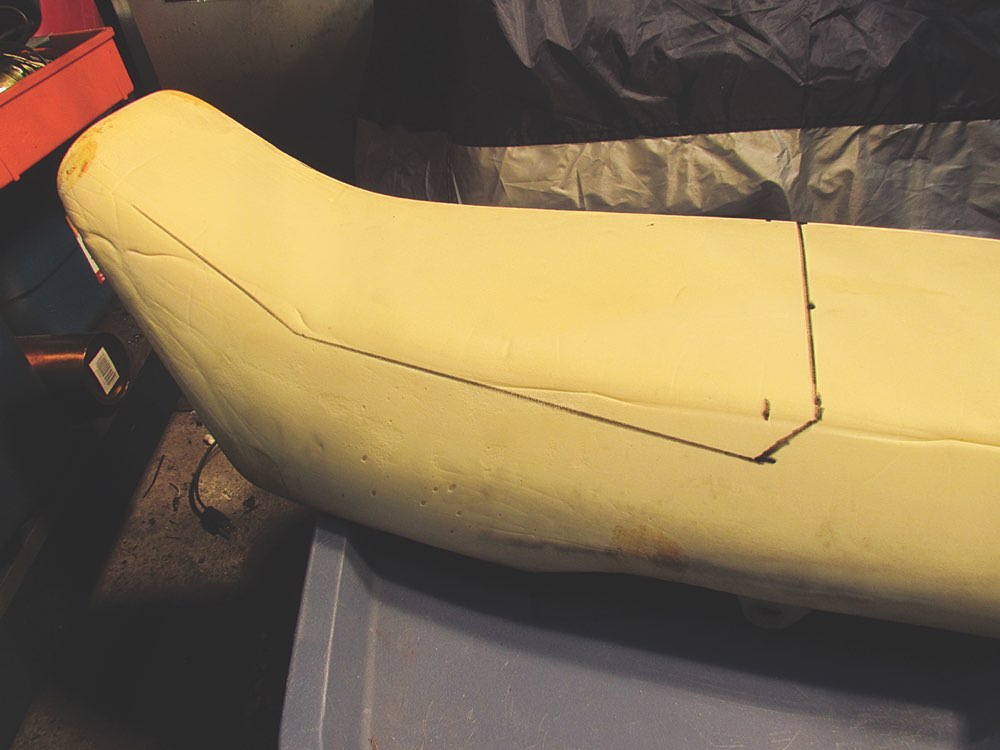
The next step is to mark the foam exactly where you want to cut it. This takes some patience, and you should take some measurements from the edge of the seat to make sure your cut isn’t lopsided. Also try to give it a shape that will be aesthetically pleasing, so avoid right angles. My KLR seat sloped forward, which proved uncomfortable on longer rides, so my goal was to level it out. With the seat on the bike, I eyeballed an imaginary line that was more level to the ground, but I only removed 2.5 cm at the deepest end of my cut because I didn’t want to lose valuable legroom.
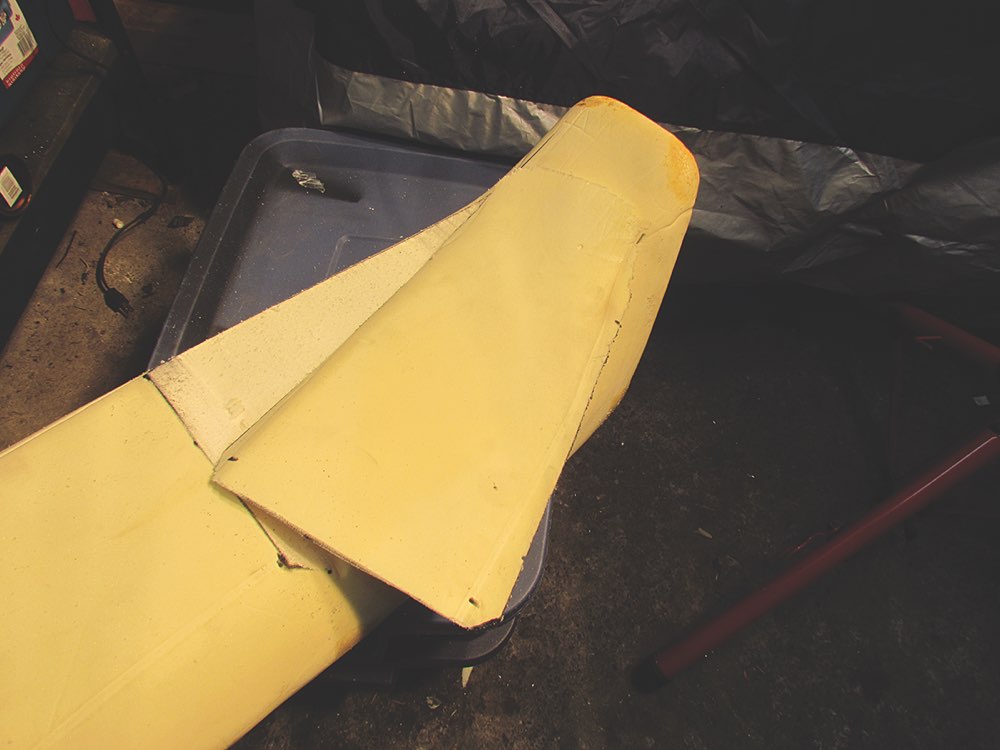
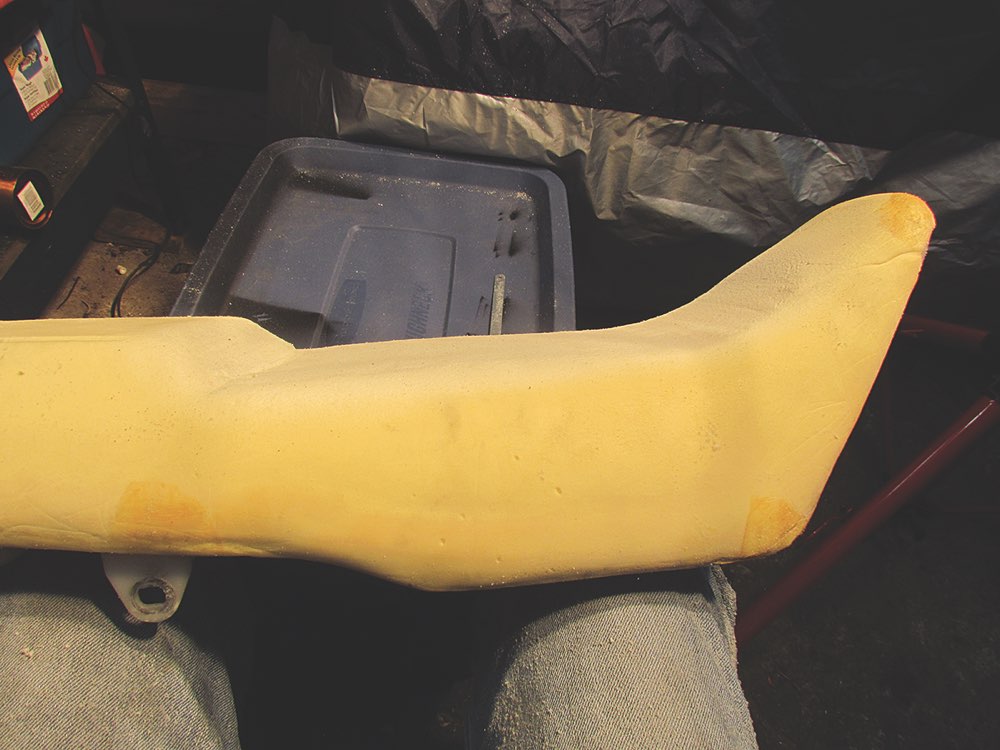
 The trick to cutting foam is to take one clean cut; that way, if you don’t like the results, you can always glue the cut piece back on. Cut very slowly with a medium hacksaw blade (18-24TPI), and make sure the blade follows the line on both sides of the foam. The cut will leave sharp edges, which can be rounded using coarse sandpaper — 60-grit worked fine for me.
Once you’re satisfied with your cut and have sanded all the edges smooth, you can reassemble the seat, starting with the waterproof plastic liner. Since the one on my seat was torn, I replaced it with a repurposed plastic bag – but note that if you use a plastic bag that it is not one of those biodegradable bags that break down within a few months. The plastic is not glued into place, but is held in place by the vinyl seat cover, so you can leave it oversized and then trim it down after the seat cover is on.
Replacing the seat cover will be trickier now that its shape no longer conforms to the newly shaped seat foam, which is another reason you don’t want to remove too much foam in the first place. Locate the cover using the alignment marks you drew on earlier, and use a couple of staples at the front and rear to hold it in place. I use a Stanley adjustable electric stapler with ¼-inch T50 staples, which were almost identical to the original staples. Don’t use longer ones or they will come out the other side of the cover.
 You’ll be stapling most of the cover at about the same location as it was stapled before it was taken off, but it will have to be drawn tighter where foam was removed so it’s not saggy and unsightly. This is the tricky part, and it’s where you should begin stapling the cover after your initial fore and aft staples are in place. You must be careful not to pull the cover too tightly to remove unsightly creases, because this will compress the foam beneath and make the seat uncomfortable. You will likely have to pull out some staples and readjust the cover as you go, so use wide gaps between the staples at first, until you’re satisfied with the way the seat cover fits. Once the cover looks relatively smooth (you might have to live with some additional creases), you can then staple the seat cover fully, and go for a ride.
Technical articles are written purely as reference only and your motorcycle may require different procedures. You should be mechanically inclined to carry out your own maintenance and we recommend you contact your mechanic prior to performing any type of work on your bike.